
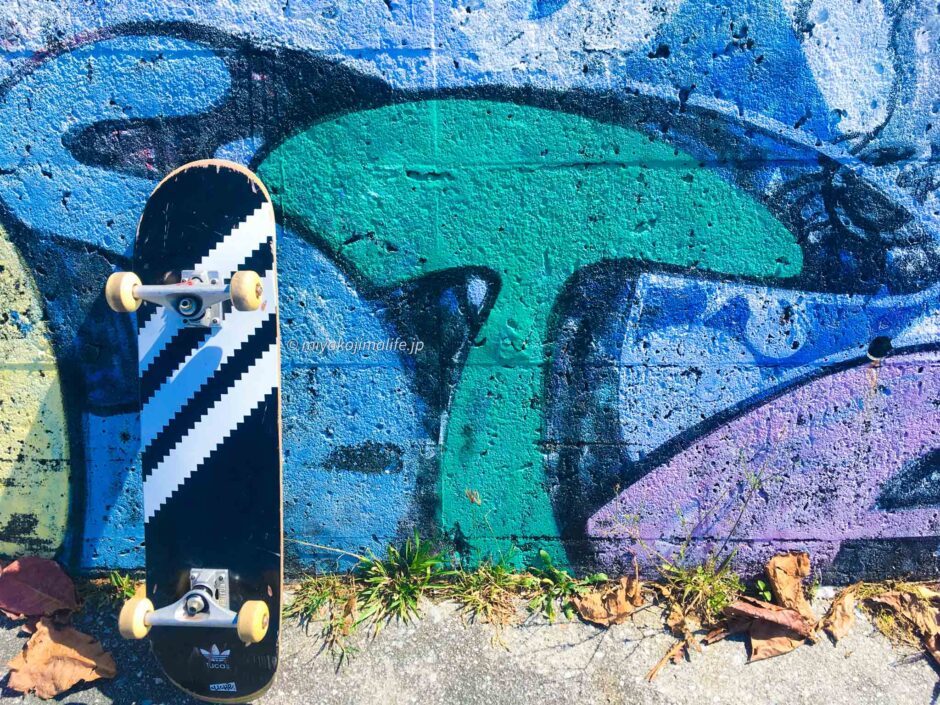
Hello, tuna(@miyakojimalife_) (^^)
Who won a medal at the Tokyo 2020 Olympics?Yuto Horigome, Momiji Nishiya, Funa Nakayama, Sakura Yozumi, and Kana KairiCongratulations! ヽ(^o^)丿
The medal rush achieved by Japan’s young athletes and their impressive technical skills have sparked a boom that’s even drawn in people who had never been interested in skating before.
I hope this doesn’t end as just a passing fad, but that the development of skate parks and support for skaters will continue in the future, helping to nurture the younger generation (。>人<。)
Skateboarding is all the rage right now, but whether you’re just starting out or already an experienced skater, when it comes to your board…“Storage”I thought this might actually be a source of frustration for many people, so I’d like to share the storage methods we use at home.
EndThe Benefits of Building Your Own Storage Shelves
Some of you might be thinking, “Why not just prop it up in the entryway?” but it actually gets in the way more than you’d expect (sorry for putting it that way).
We have two of these—one for the kids and one for me—but if we lean them against the entryway, they might tip over, or someone might accidentally step on them, which could be dangerous.
Also, skateboards take up quite a bit of space because they’re surprisingly large… You can buy racks to store them, but they’re actually pretty expensive ( ᐪᐤᐪ )
While stylish storage ideas are shared online, they can be quite daunting for people who haven’t done much DIY—so even if they think, “That looks nice,” they often don’t end up taking the next step.
I’d be happy if you’d read this as just one idea for storing your skateboard♪
SRendering of the completed skateboard storage rack
I want to avoid a situation where you read all the way to the end and think, “If I’d known it was going to be like this, I wouldn’t have read it ( ᐪᐤᐪ ),” so here’s a preview of the finished product!
Ta-da!
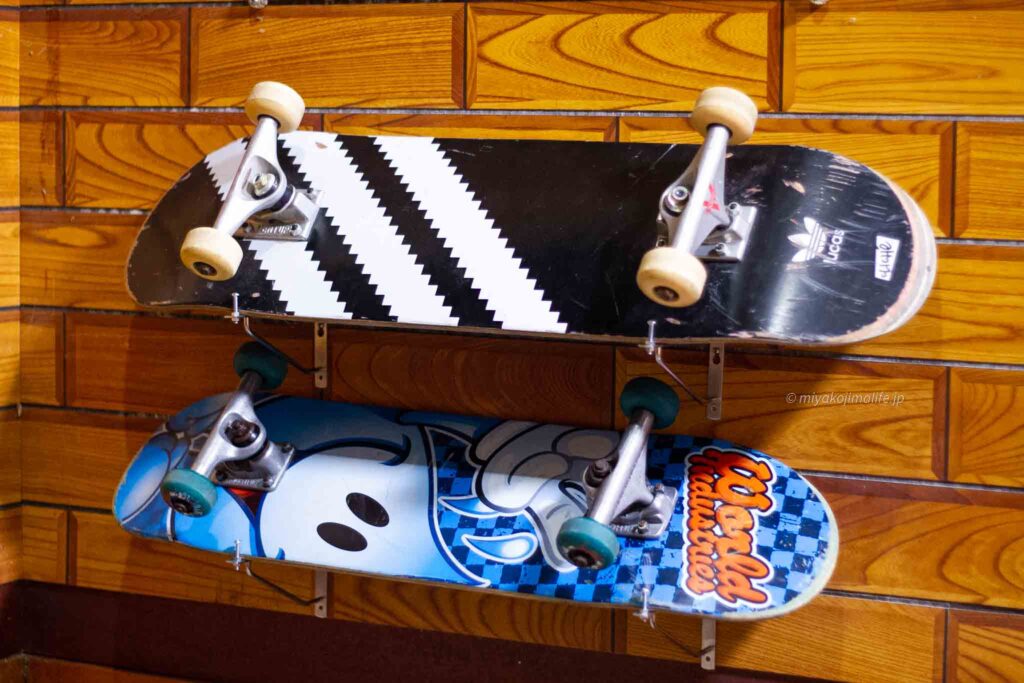
It’s turning out pretty well, isn’t it?
I personally like how it looks when the deck is facing up—it gives it that authentic feel (*´▽`*)
Here’s how to make it:“My Random Thoughts”Therefore, prolonged use may place a strain on the deck or lead to unexpected drawbacks.
Please use your own judgment as to whether or not to give it a try, taking that into account <(_ _)>
MustThat’s all you need!
You only need three things to build a storage shelf!
- Shelf Bracket
- Small pot screws
- Phillips-head screwdriver
It’s starting to sound like it’ll be easy, isn’t it? ♪
You can find everything you need at a home improvement store, and since these items are also sold at small shops on Miyakojima, you should have no trouble purchasing the materials!
Let’s take a look at the photos (please use a Phillips-head screwdriver you have at home).
① Shelf Bracket
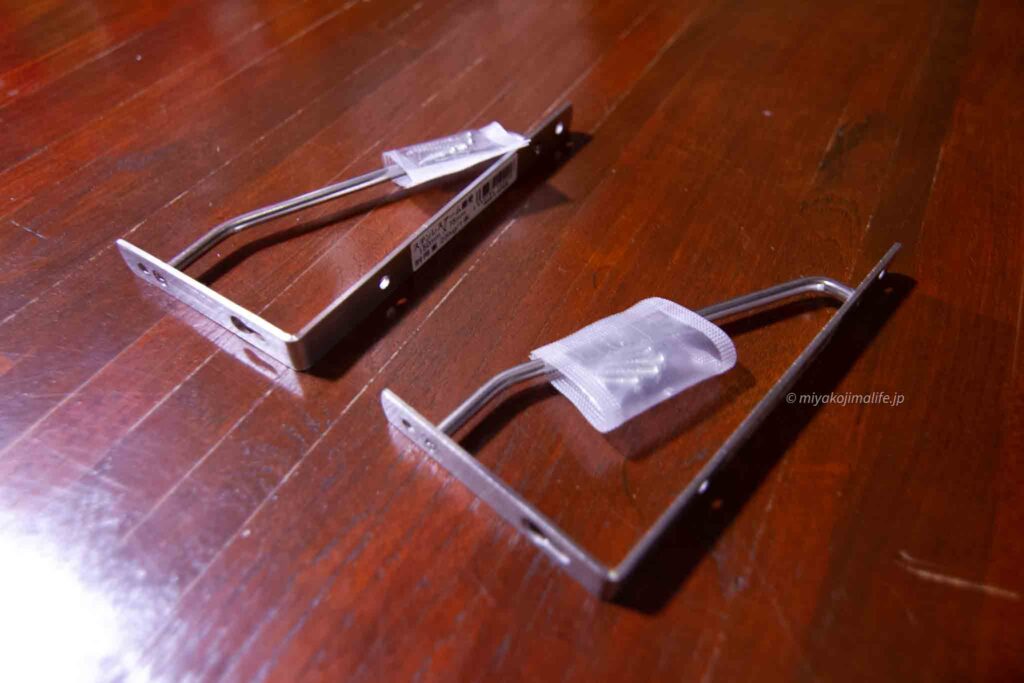
Since shelf brackets come in various lengths, it’s best to make a note of the length you want in advance—imagine how your skateboard would sit diagonally on the shelf—to make the purchase process go smoothly.
I bought something that was 15 cm long.
② Small pot screws
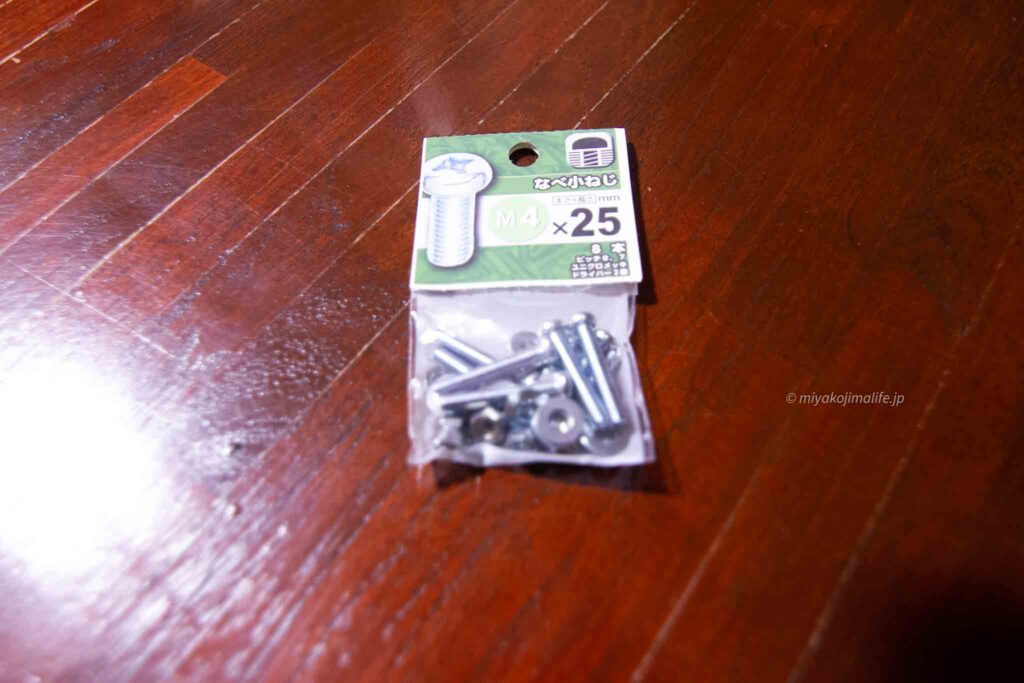
Small pan-head screws are used to secure the skateboard by inserting them into the shelf brackets.
This part, right?
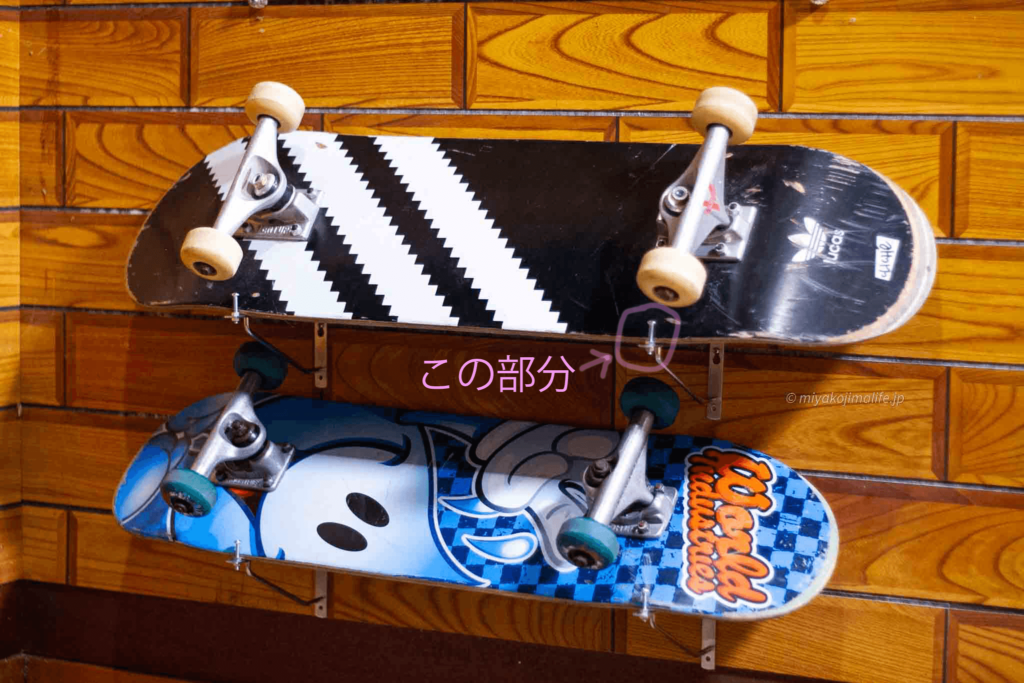
You should purchase screws that match the size of the holes in the shelf brackets, but home improvement stores usually have sample screws on display.
Just align the shelf bracket with the sample screw to check the size, and you’ll be all set (∩´∀`)∩
You don’t need to worry too much about the length unless you feel it’s extremely long or short.
I chose a size M4, 25 mm long.
GroupHere’s what the setup procedure looks like
Finally, here are the assembly instructions.
That said, all you have to do is screw the shelf brackets in place with a Phillips-head screwdriver (´∀`)
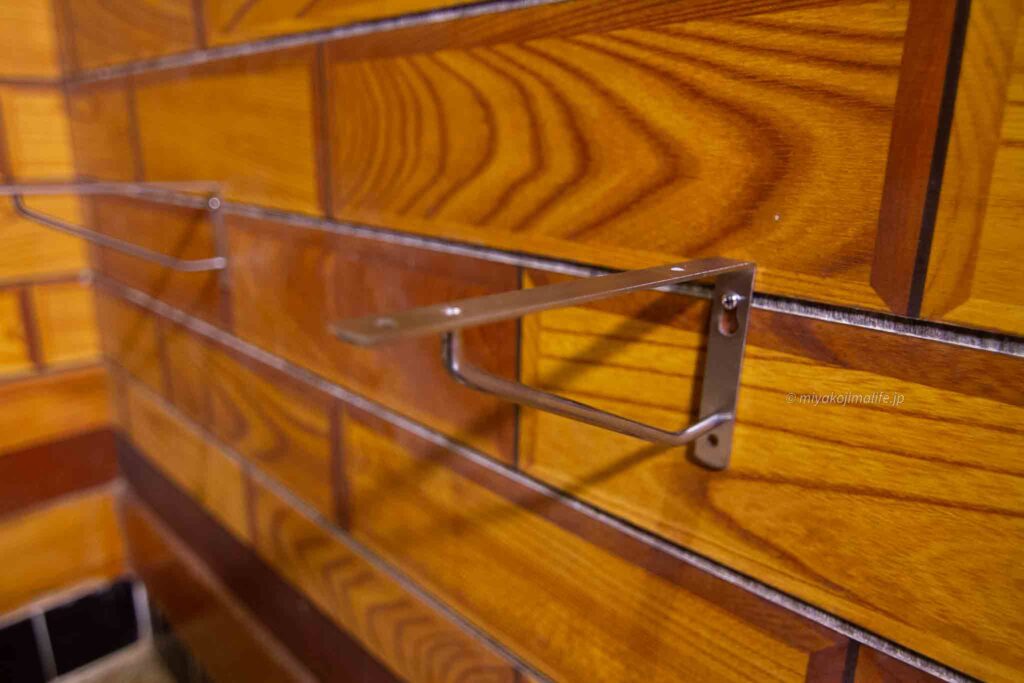
When securing with screws, check to see if there is a support, such as a stud, behind the wall before driving them in.
If you hear a “click” when driving a screw in with a Phillips screwdriver, it means there is no support beam.
If you tap lightly on the wall, you can find where the pillars are. キョロ(・_・。)(。・_・)キョロ
You can adjust the width between the two shelf brackets to your liking.
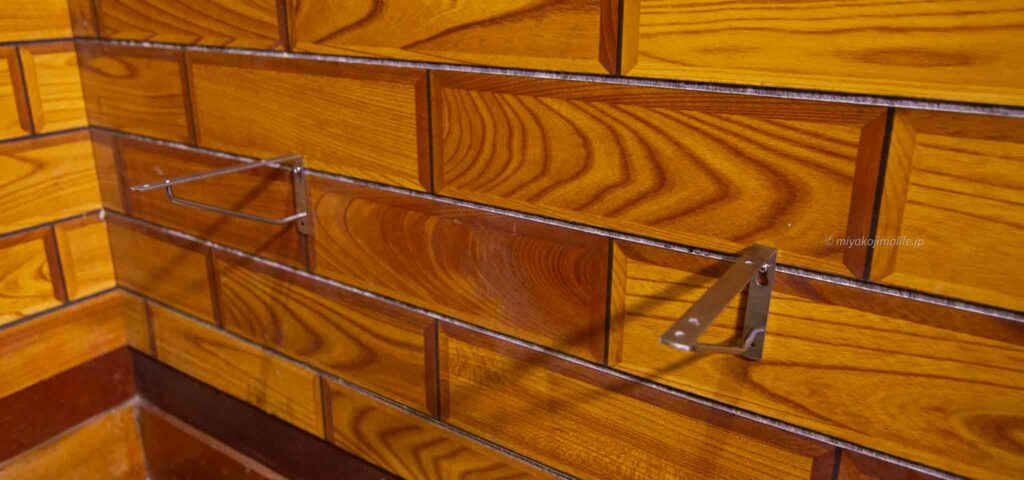
Once you’ve installed the shelf brackets, the job is 95% done. Haha
All that’s left is to screw the small pan-head screws into the holes in the shelf brackets, and you’re done.
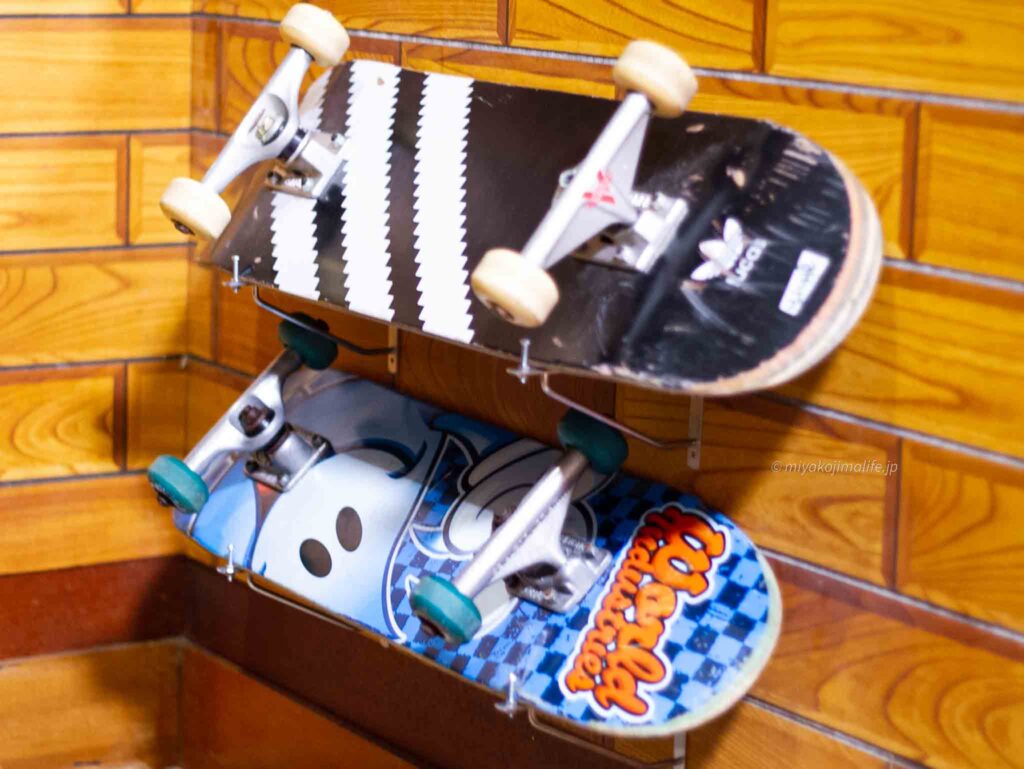
It’s done in the blink of an eye! ♪
I think this is a “skateboard storage rack” that most people can build themselves without any trouble!
Each shelf I built this time isAbout 400 yenThat’s it! (∩´∀`)∩
I hope this serves as a helpful reference for anyone struggling with how to store their skateboards or build shelves♪

コメントを残す