
Hello, tuna(@miyakojimalife_) (^^)
Our family lives on Miyakojima Island while doing DIY renovations on our grandparents’ house.
Although some aspects of the traditional Okinawan floor plan are difficult to use in modern times, we’re enjoying doing little DIY projects here and there to make it more comfortable for us to live in while still preserving the best of the old ways.
This time, we did some DIY work near the back door leading to the backyard and vegetable garden.
Since this area connects to the bathroom, toilet, and washroom, my husband and I took on this project with the goal of improving usability and enhancing the aesthetic appeal.
Since I can only paint while the kids are asleep, as usual, I ended up working late into the night after putting them to bed (︶。︶✽)
Thank you to everyone who checked it out on Twitter as well!
Please enjoy seeing how it turned out after a half-day of work.
Condition Before the DIY Project
This is the area near the back entrance before starting the DIY project.
In the past, our grandparents used to use it to go back and forth to the fields, but since we mostly go from the front door to the backyard or the fields, we hardly use it anymore.
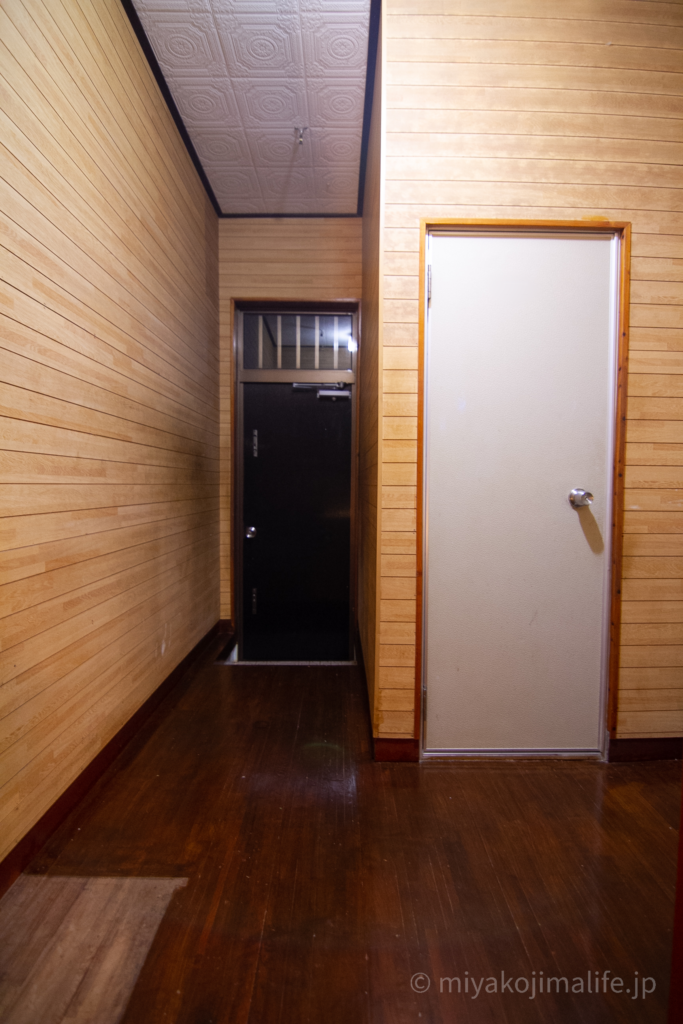
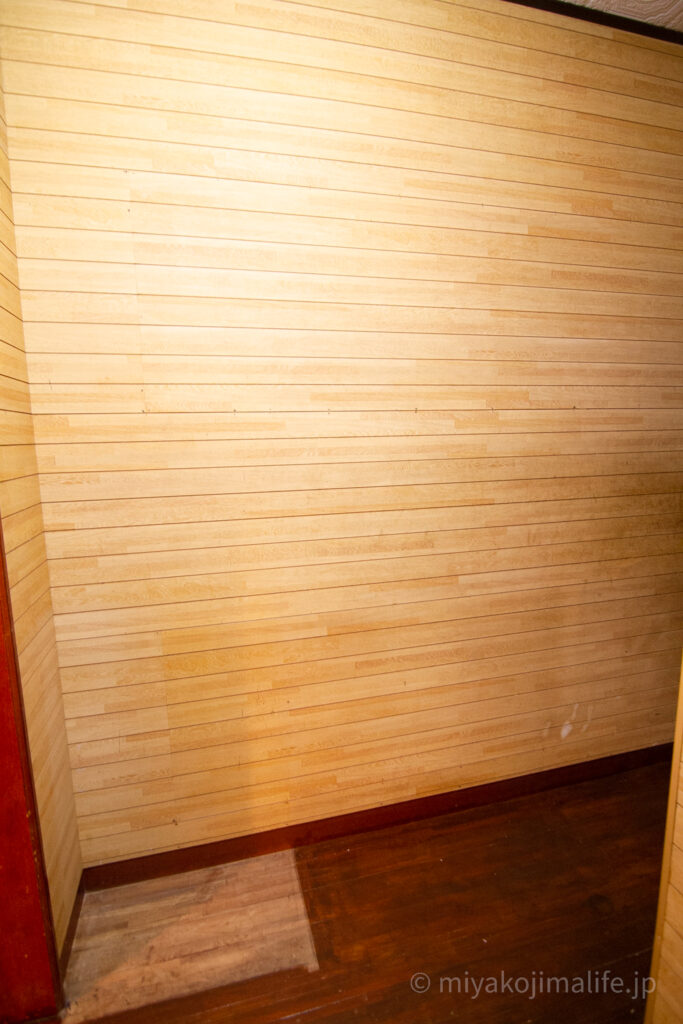
The discoloration on the walls gives a sense of its age.
The reason the floor is a slightly different color in some areas is that furniture used to be placed there, and only those sections were not varnished.
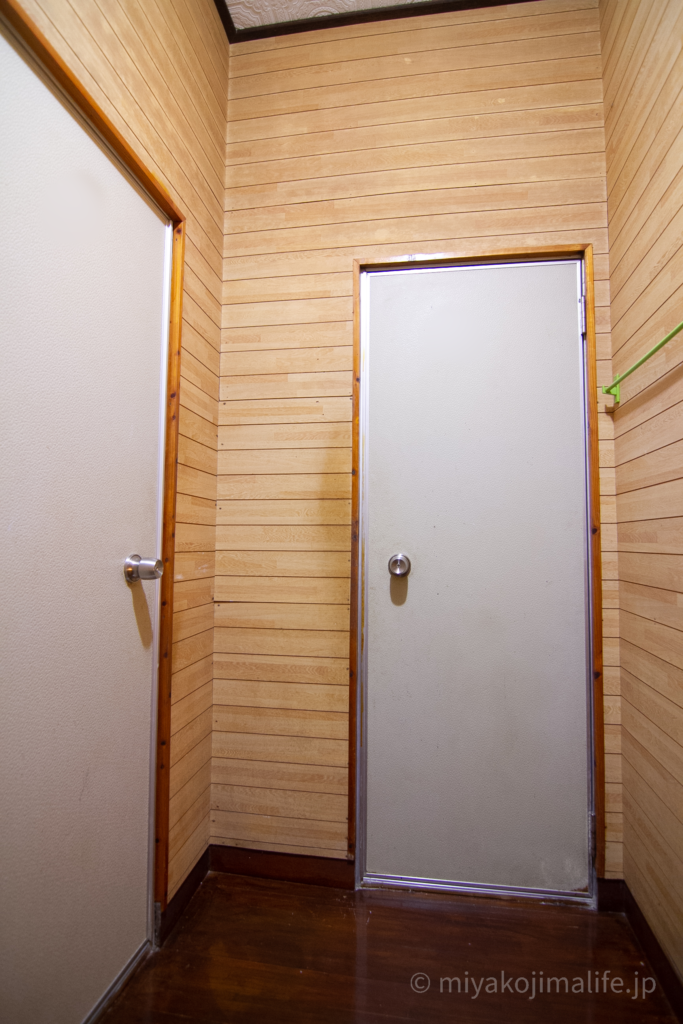
This area connects to the washroom, bathroom, and toilet.
To be honest, I’d like to replace this door too, but I’m still debating whether to hire a professional to replace it, do a DIY project by applying a veneer, or repaint it—so I haven’t been able to take action yet…
I can’t wait to get started (ˉ ˘ ˉ; )
Tools Used for Painting Walls
Let’s start by painting the walls!
As for the tools I used this time, I’m using the same ones I used when painting another area previously.
Click here to see photos of my previous DIY room project ^^
 [How to Turn a Wall into a Chalkboard with DIY] A Hit with Kids, Guaranteed!
 [Using Secondhand Furniture and DIY] How to Create a Stylish Room
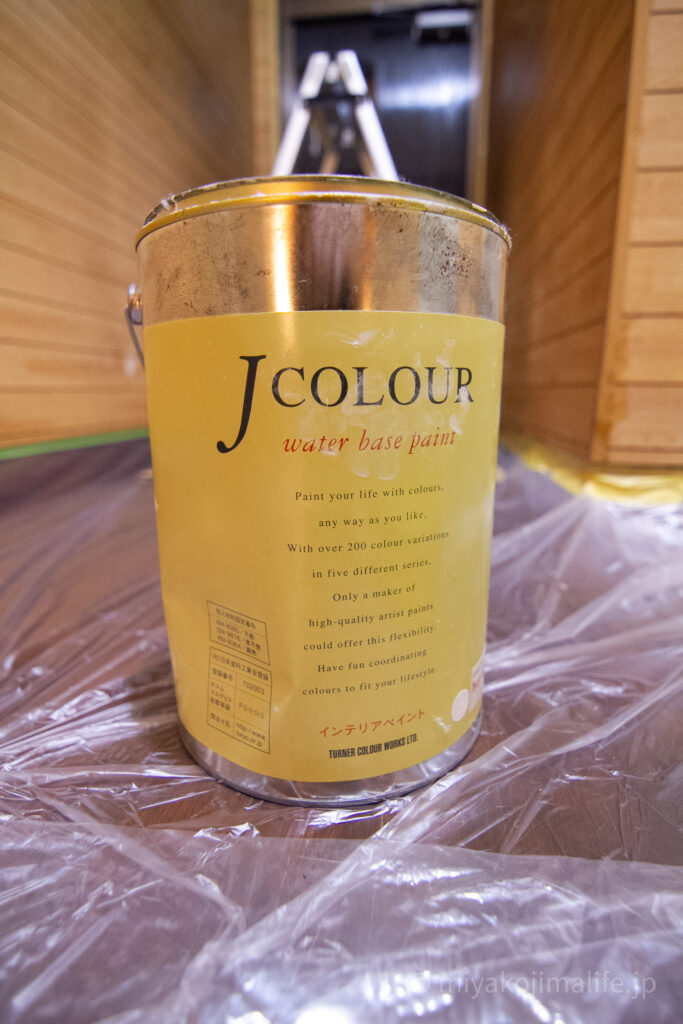
First up: paint!
With our families and friends who come to visit in mind, we’ve chosen paints that are highly safe. They’re a bit pricey, but they offer peace of mind in the long run.
We use Turner’s J COLOUR.
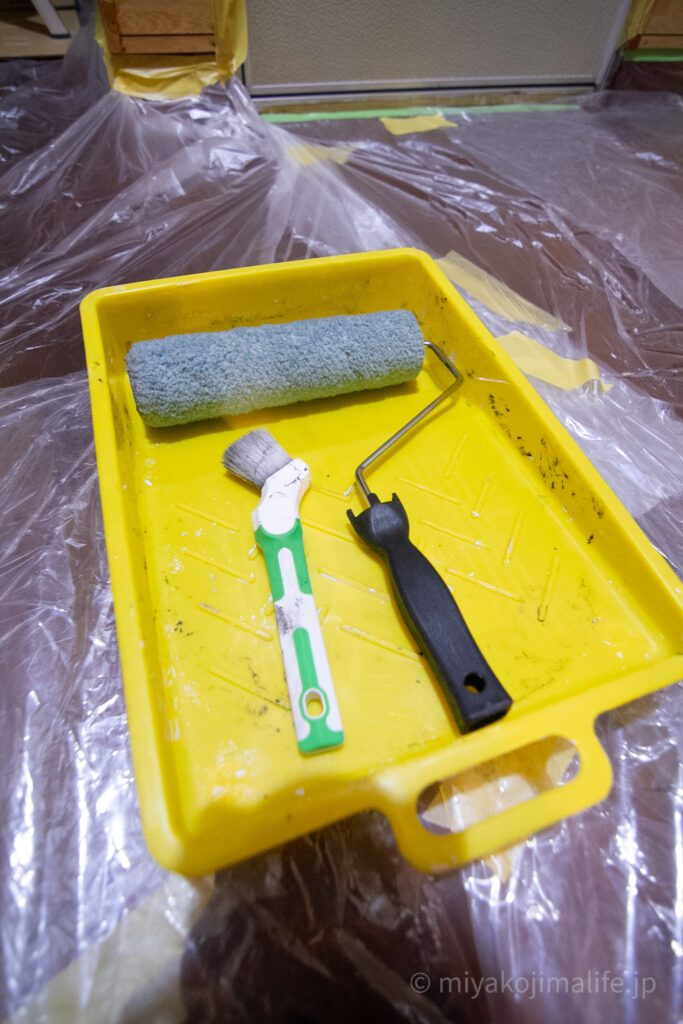
And here are the roller, brush, and container for the paint.
Rollers are great for applying paint evenly over large areas! Even beginners can achieve a beautiful finish, so they’re definitely a must-have item.
I use a brush to paint areas that I can’t reach with a roller.
The walls in my house have grooves, so this is very useful when painting them.
And don’t forget the masking tape and protective sheeting.
This time, I put up the protective sheeting first, so I don’t have any photos ^^;
This is the vinyl sheet stuck to the floor in the image above.
When you’re painting, there’s always that moment when paint drips down, so if you lay this down, you can get to work without worrying about a thing.
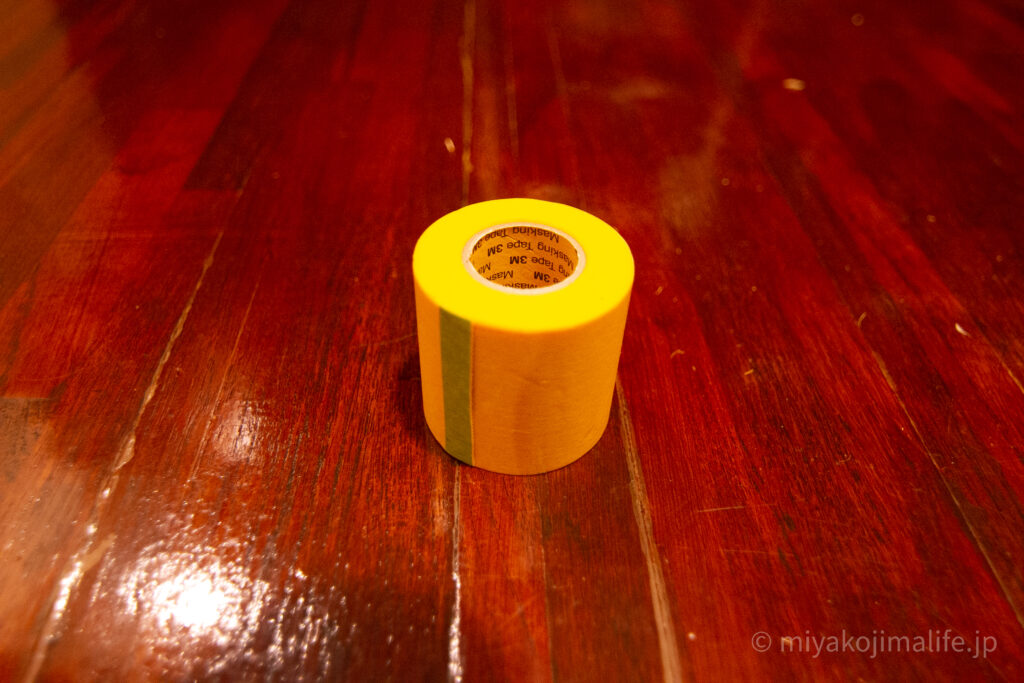
First, use masking tape to protect the surrounding area
We will proceed with protecting the pillars.
Simply put, all you have to do is apply tape to prevent paint from getting on the surface.
However, taking these preparatory steps seriously will make a difference in the final result.
I’m a beginner, so I’m not very good at this (^^;
I was supposed to apply it without any gaps, but it ended up curving unexpectedly, resulting in a messy job. Haha
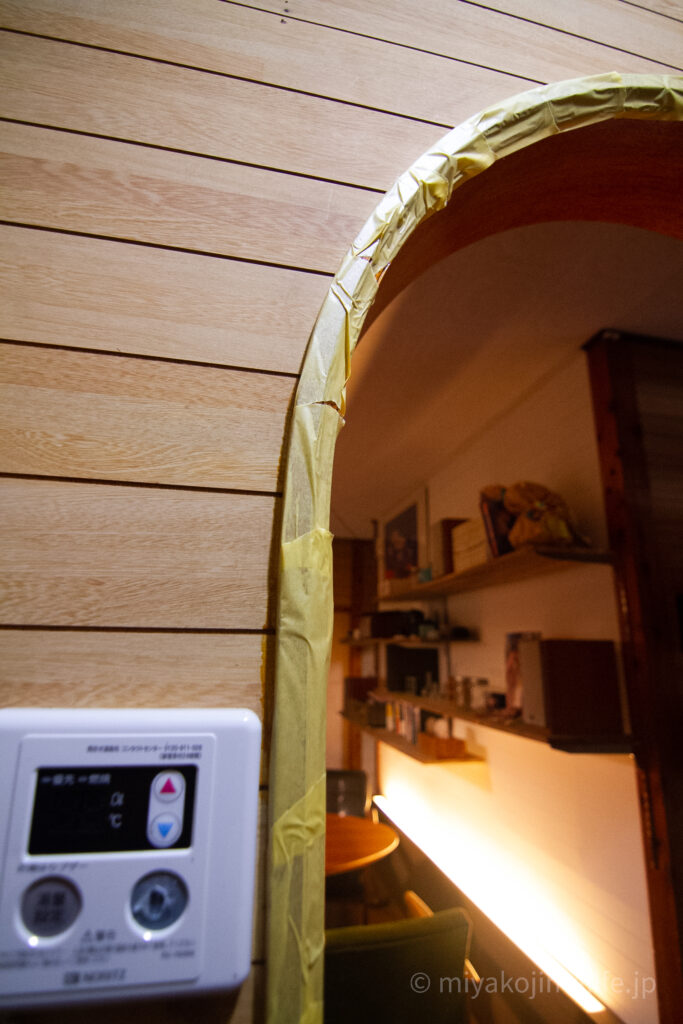
I’ll do my best to post them.
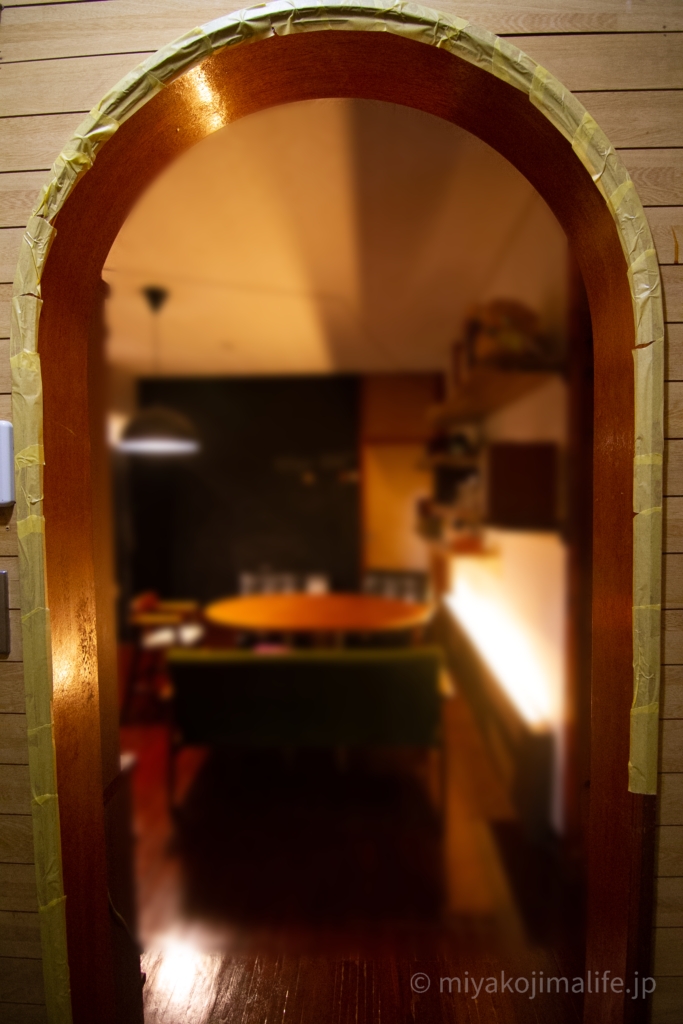
I masked the other pillars in the same way.
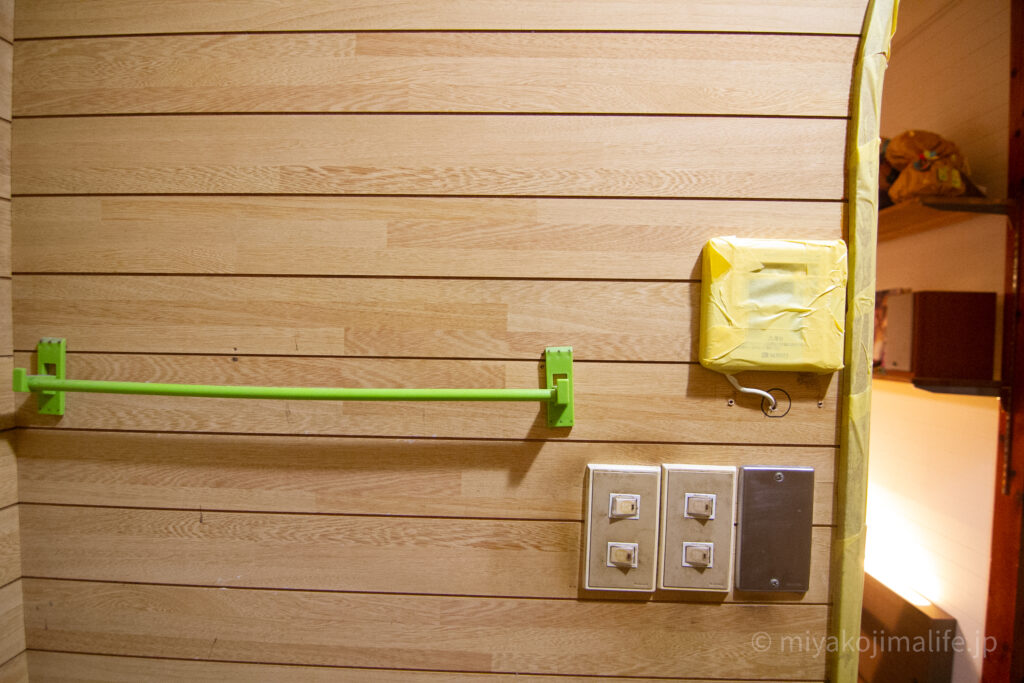
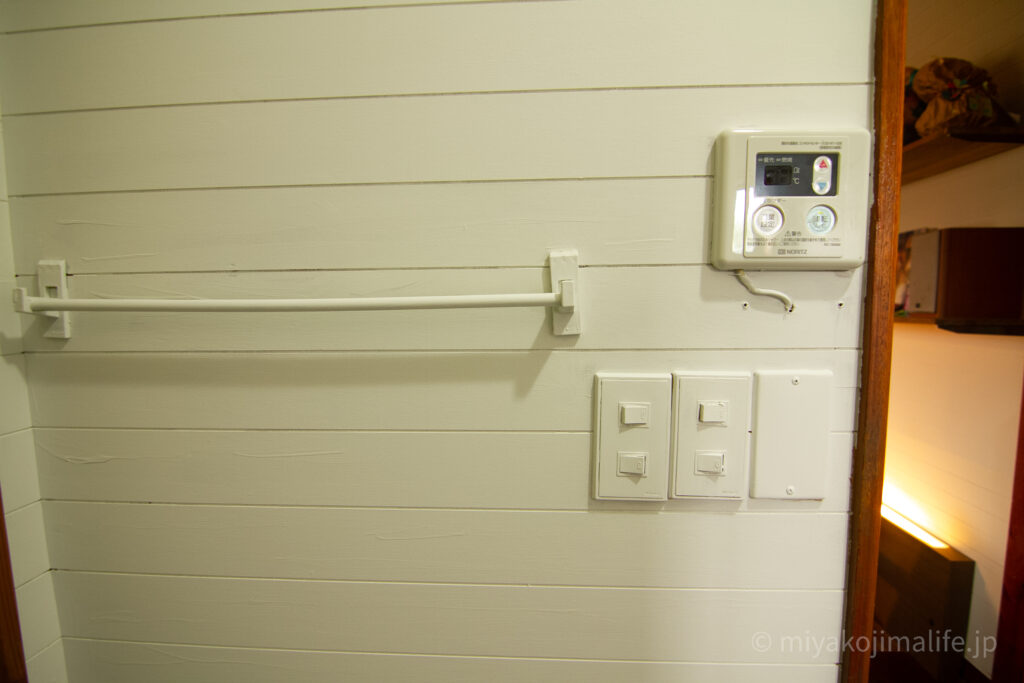
This time, I’ll also be painting the towel rack that was probably installed by my grandfather or an uncle long ago. I debated whether to remove it, but since it’s been there for so long, I’ve decided to keep it.
The panel for adjusting the gas temperature is also covered
I debated whether to replace the switch cover, but I decided to try painting it for now.
Next, here are some photos of the floor protection work in progress.
Masking tape that comes in a set with plastic sheeting is very handy for protecting large areas of flooring and furniture. Since the tape tends to tear gradually when I’m working while standing on a stepladder, I’ve started laying down cardboard to prevent that.
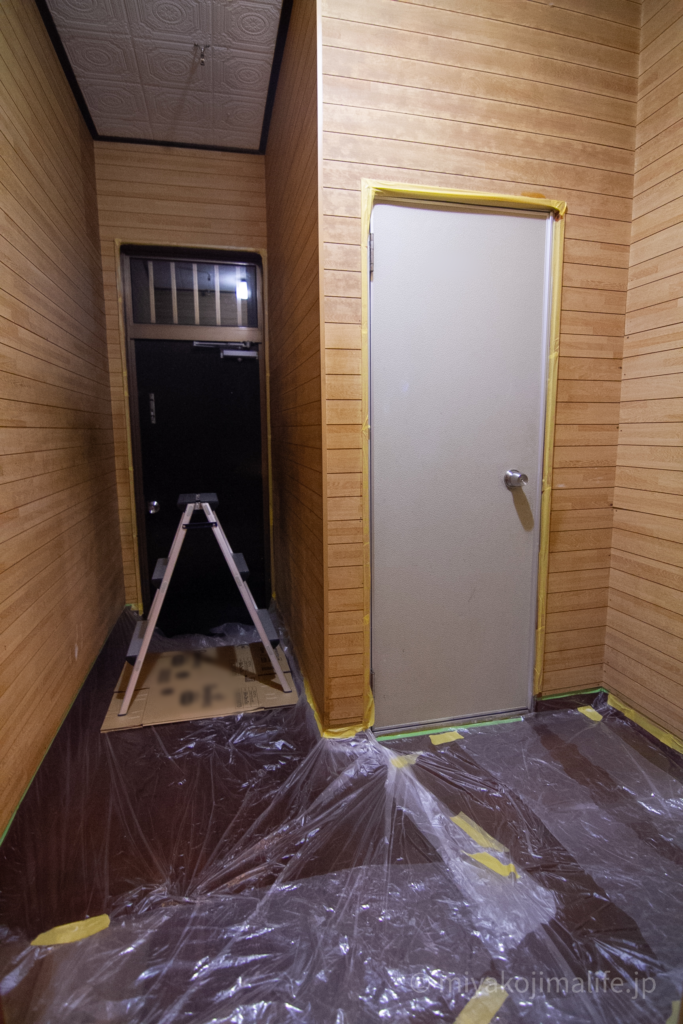
Start Painting the Walls
Now that the surface preparation is complete, it’s finally time to paint.
First, apply one coat with a roller
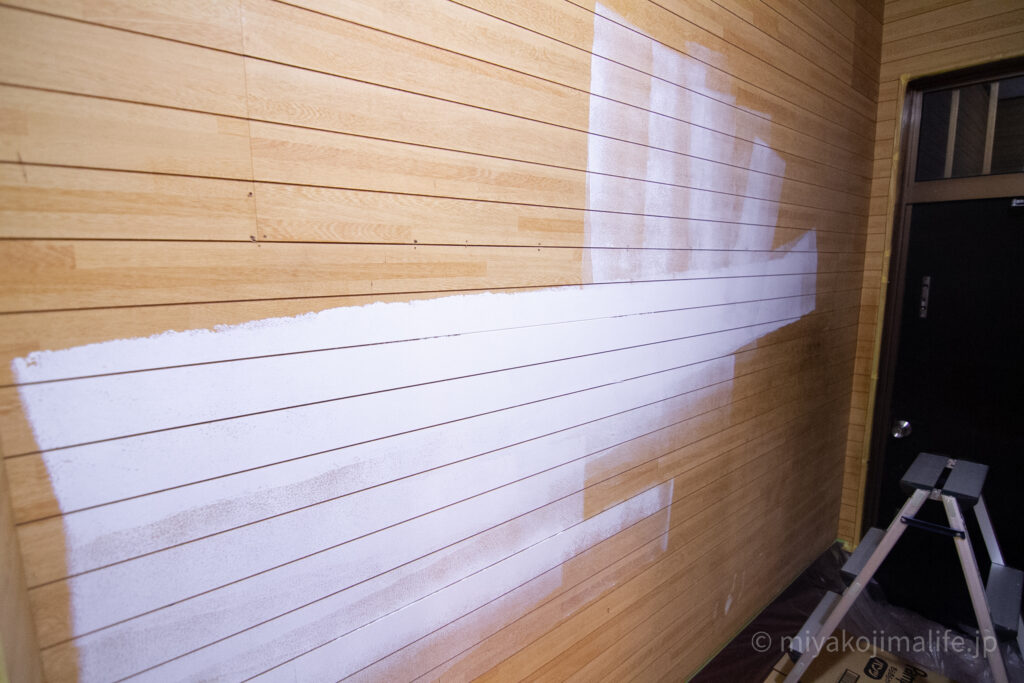
As always, the grooves are the only parts that aren’t painted.
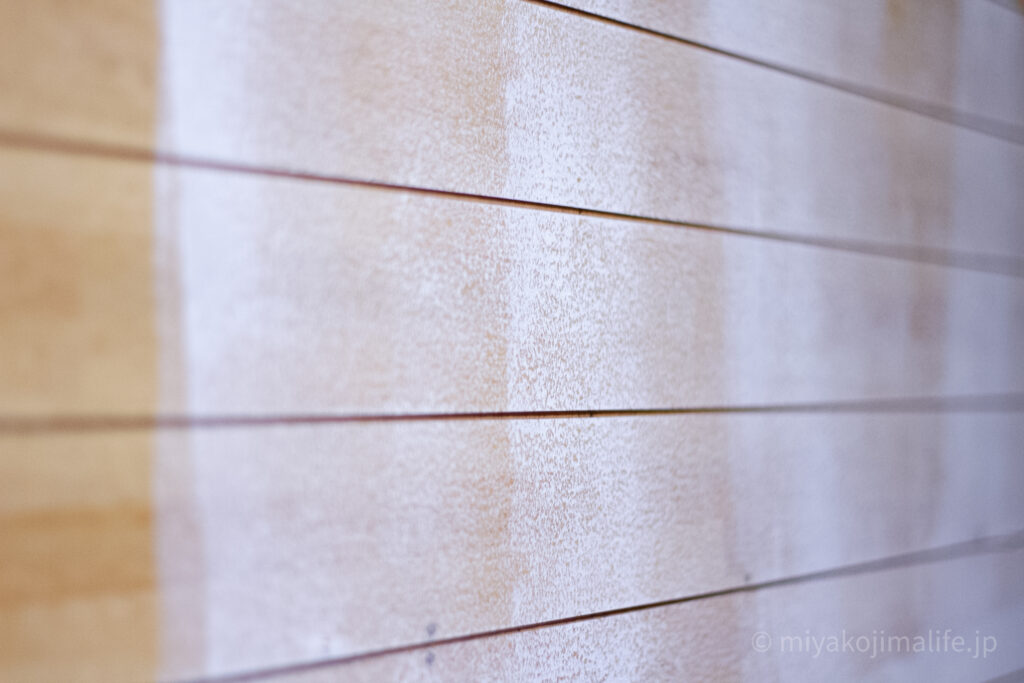
The biggest hurdle in painting the walls of my house is this groove.
It’s a lot of work to paint this (இдஇ; )
Once again, we’ll start by filling the grooves
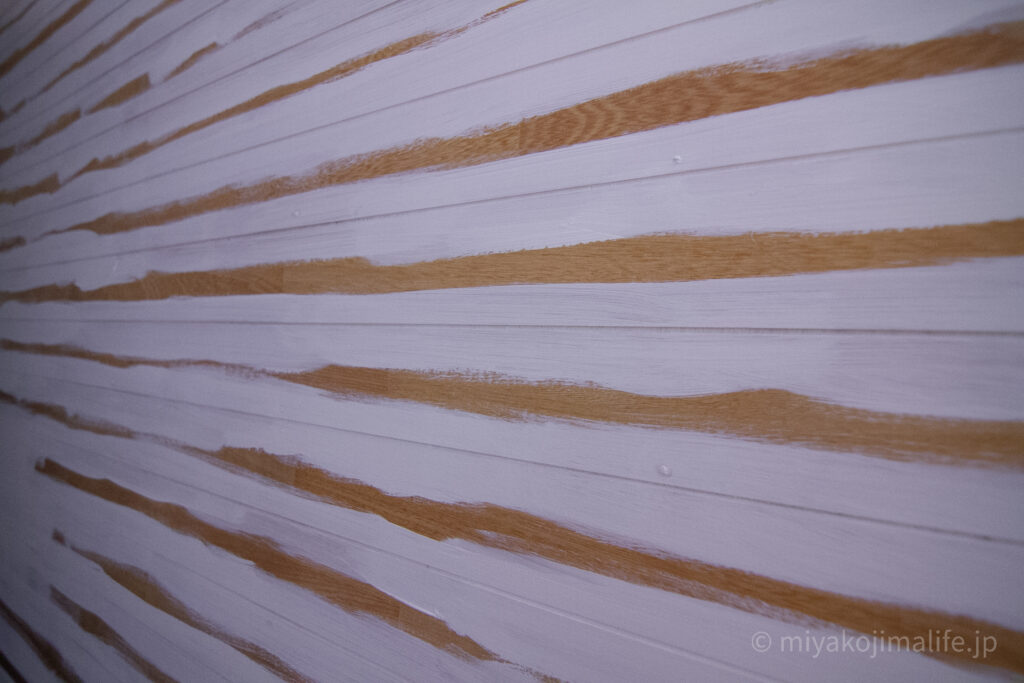
Once you’ve finished painting the grooves, use a roller to apply the paint.
“The key to a beautiful finish is to apply thin coats of paint two or three times, rather than one thick coat!” I’ve seen this advice on paint manufacturers’ websites and in paint application guides, and I’ve come to understand it more and more with each coat I apply. At first, I tended to apply the paint too thickly…
So, here it is after two coats of paint.
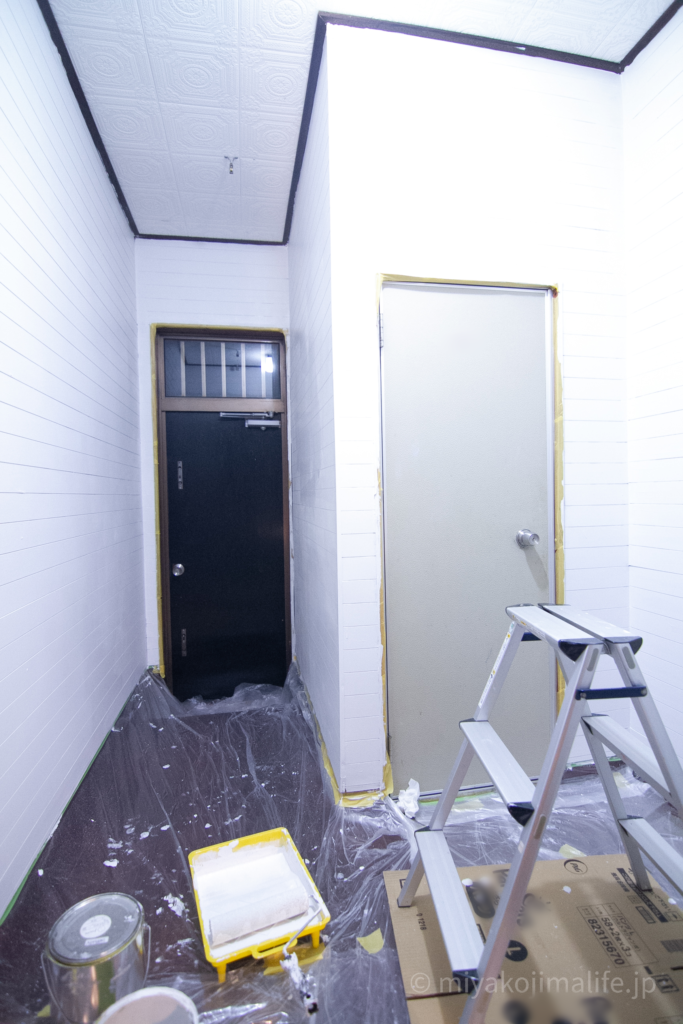
Just by painting it, the room became brighter.
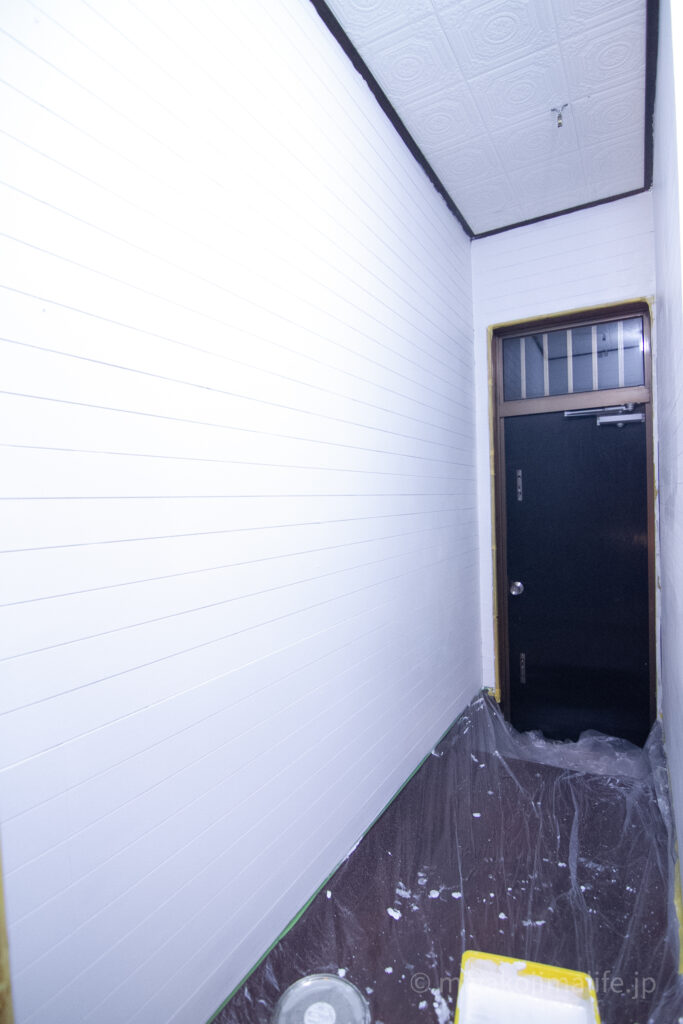
A lot of paint will come off, so it’s important to cover everything up.
It took some time this time because the area is so large, but it was fun.
It’s painted quite nicely (I think…
The towel rack and light switches also look better than I expected.
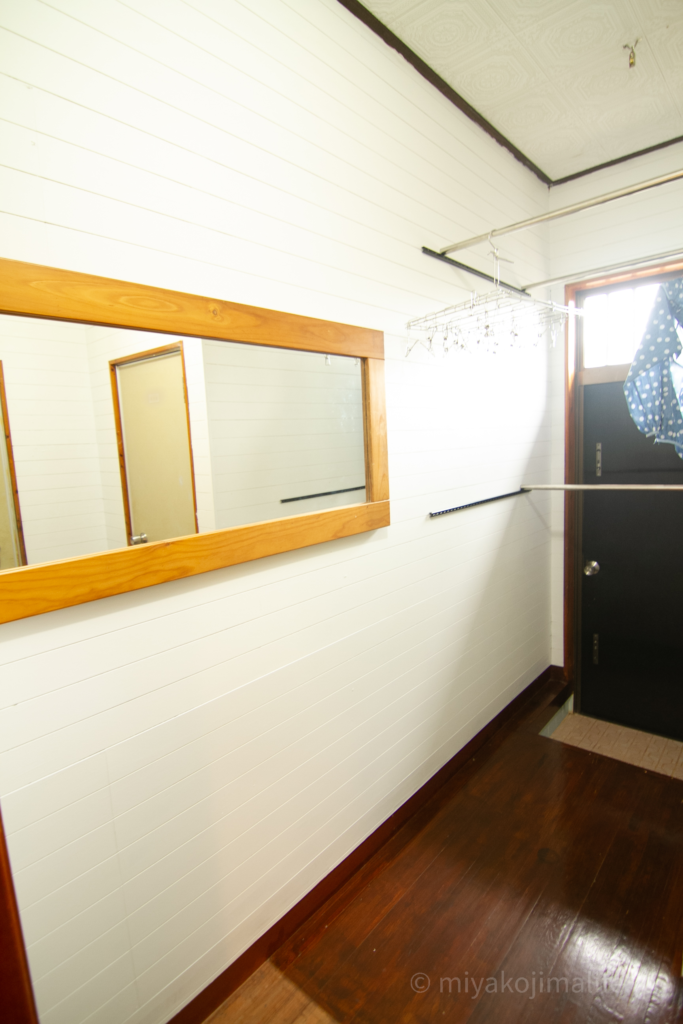
Now that the painting is done, it’s time to build the shelves.
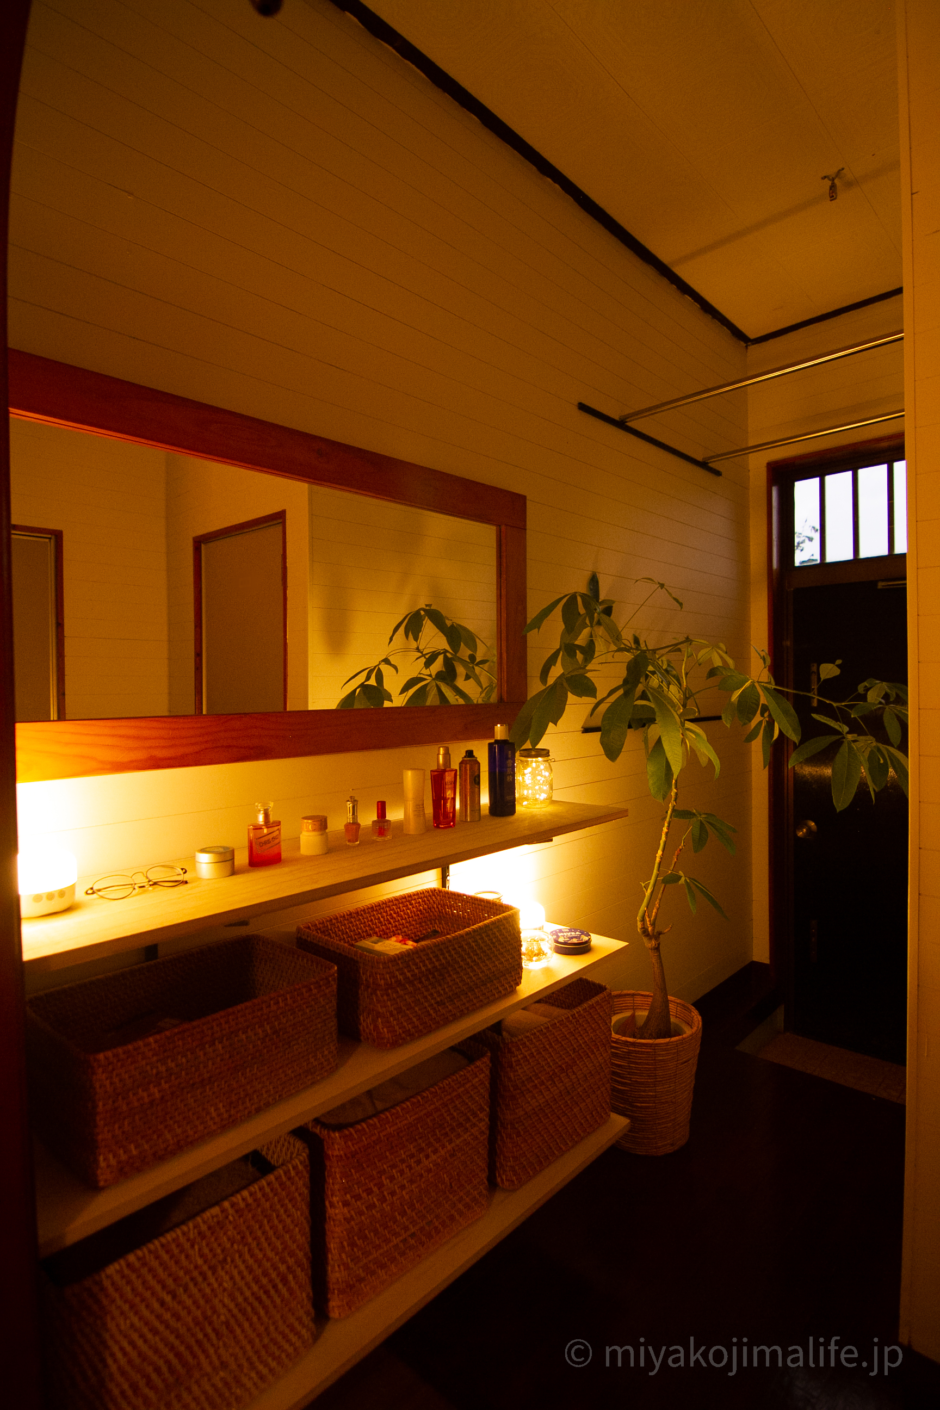
A warm atmosphere created with paulownia plywood and natural rattan
Before installing the shelf, I tried mounting the mirror on the wall.
I plan to install shelves to fit this size.
I plan to post a separate article about the indoor drying area in the back.
Here are the tools I used to build the shelves.
3 sheets of paulownia plywood, 2 posts for shelf brackets, 6 shelf brackets, and a power drill
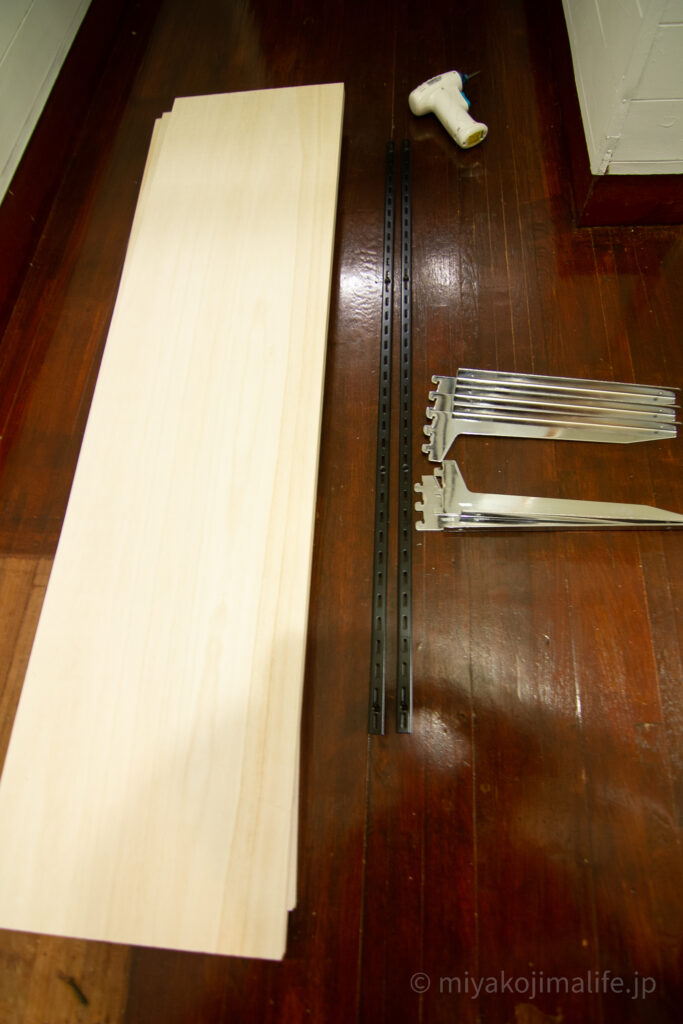
When you buy boards at a home improvement store, they’ll cut them for you, so I asked them to do that.
Just measure the size you want it cut to and specify it.
It’s such a convenient and great service.
Once you have the board cut to size, all you have to do is attach the support posts to the wall, attach the shelf brackets to the board, and place it on top.
I was able to build the shelves in no time.
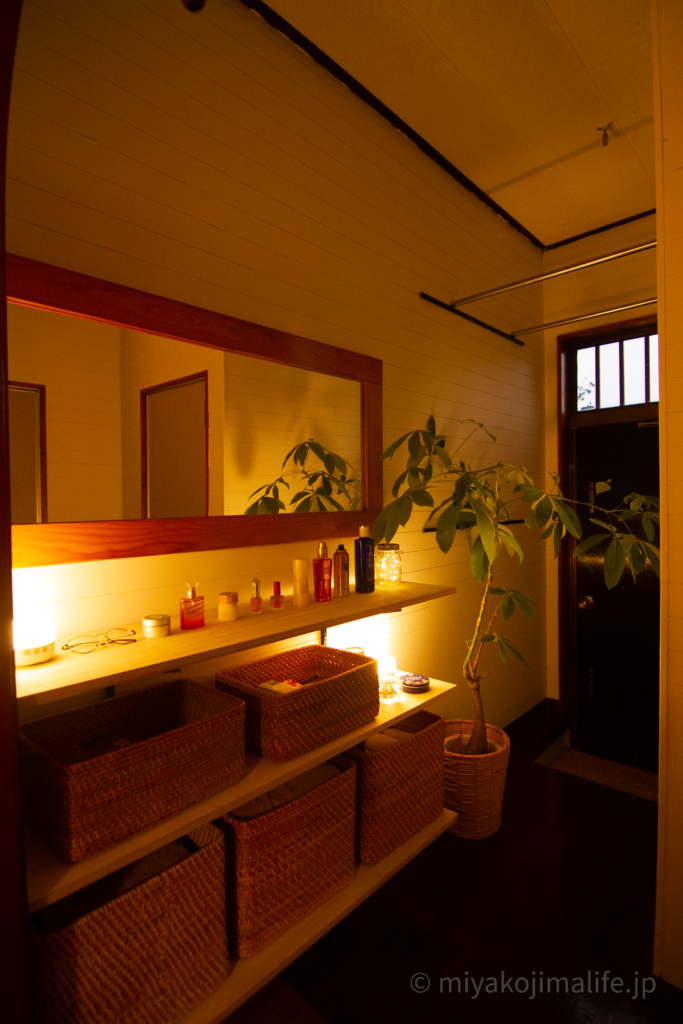
I really liked the MUJI rattan basket—it was so cute—but to be honest, the price wasn’t exactly cute, so I was hesitating (´·×·`) lol
Still, I figured it might be a good idea considering I’ll be using it for a long time, so I decided to go ahead and buy it this time.
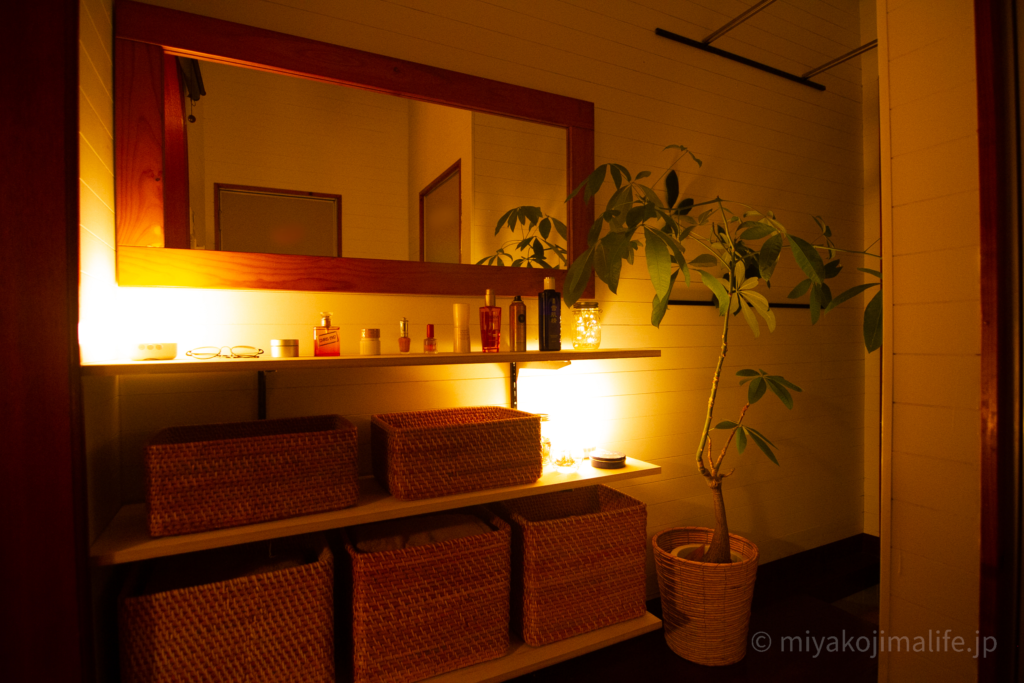
This is what it looks like from the front.
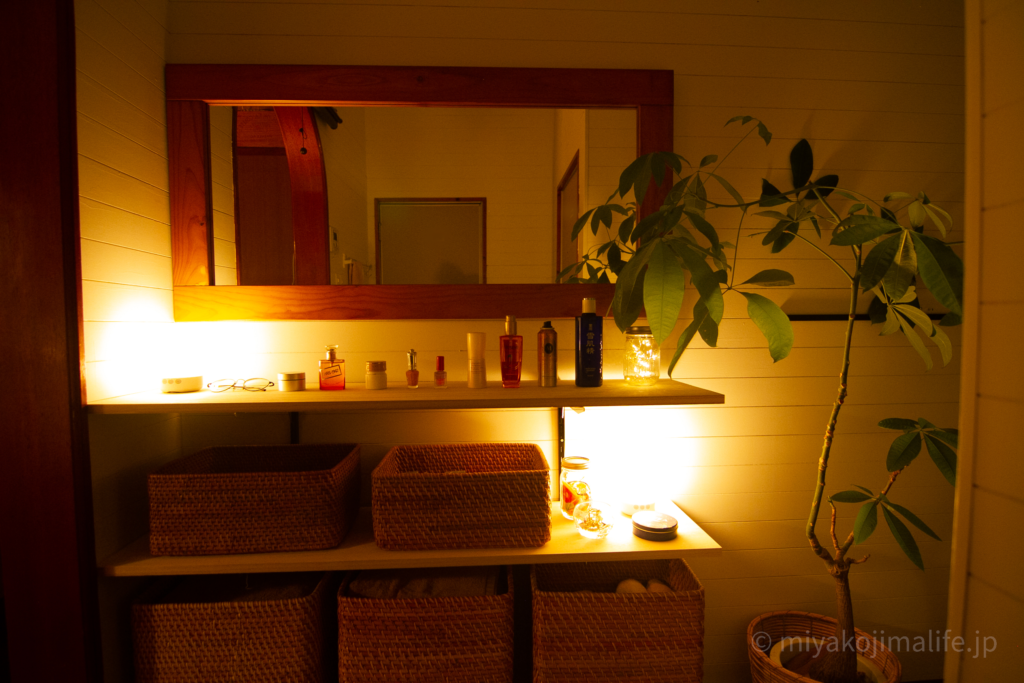
This Mason jar lamp actually generated quite a bit of buzz.
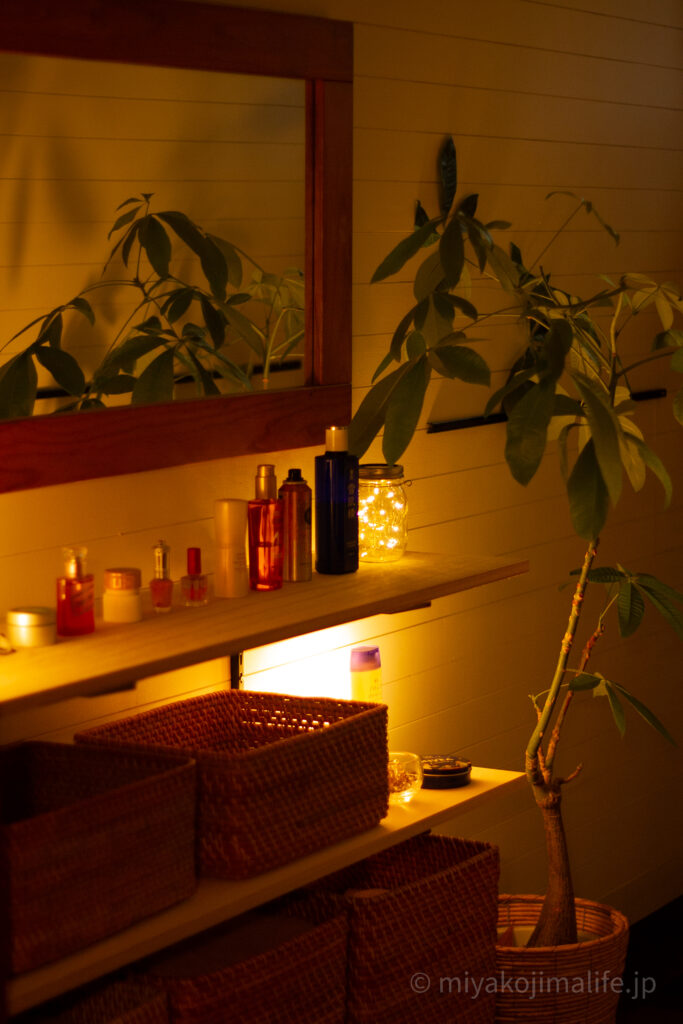
Since I’ve been asked how to make this via direct messages on social media, I’m posting the content from a previous article here. It’s very simple, but it takes quite a few days for the package to arrive from AliExpress (^^;
It’s solar-powered, but since it barely works indoors, in practice it’s more like using rechargeable batteries to power it. If you switch to batteries like Eneloop Neo, it stays lit at night for about a week. It’s convenient that it turns on automatically when it gets dark♪
 [Mason Jar Lantern] Here’s How to Make This Simple Yet Stylish Lantern
Painting the walls this time has made the room feel even brighter. Since there wasn’t an outlet in the bathroom, I used to struggle to find a place to dry my hair, but installing a shelf has improved the quality of life for the whole family—that’s another benefit (·∀·)
I hope this article inspires someone to redecorate or sparks a sense of excitement! ♪
Thank you for reading this long article all the way to the end*ᴗ ᴗ)⁾⁾


綺麗ですね。ほしいです!
カーテンおしゃれさん、ありがとうございます(≧▽≦)